1. Promise Feature Configuration Overview
1.1. Promise installation
Install nodejs, npm and promise
curl -sL https://deb.nodesource.com/setup_4.x | sudo -E bash -
sudo apt-get install -y nodejs
sudo npm -g install npm@latest
git clone https://github.com/opnfv/promise.git
cd promise
npm install
Please note that the last command ‘npm install’ will install all needed dependencies for promise (including yangforge and mocha)
1.2. Testing
Please perform the following preparation steps:
- Set OpenStack environment parameters properly (e.g. source openrc admin demo in DevStack)
- Create OpenStack tenant (e.g. promise) and tenant user (e.g. promiser)
- Create a flavor in Nova with 1 vCPU and 512 MB RAM
- Create a private network, subnet and router in Neutron
- Create an image in Glance
Once done, the promise test script can be invoked as follows (as a single line command):
NODE_ENV=mytest \
OS_TENANT_NAME=promise \
OS_USERNAME=promiser \
OS_PASSWORD=<user password from Step 2> \
OS_TEST_FLAVOR=<flavor ID from Step 3> \
OS_TEST_NETWORK=<network ID from Step 4> \
OS_TEST_IMAGE=<image ID from Step 5> \
npm run -s test -- --reporter json > promise-results.json
The results of the tests will be stored in the promise-results.json file.
The results can also be seen in the console (“npm run -s test”)
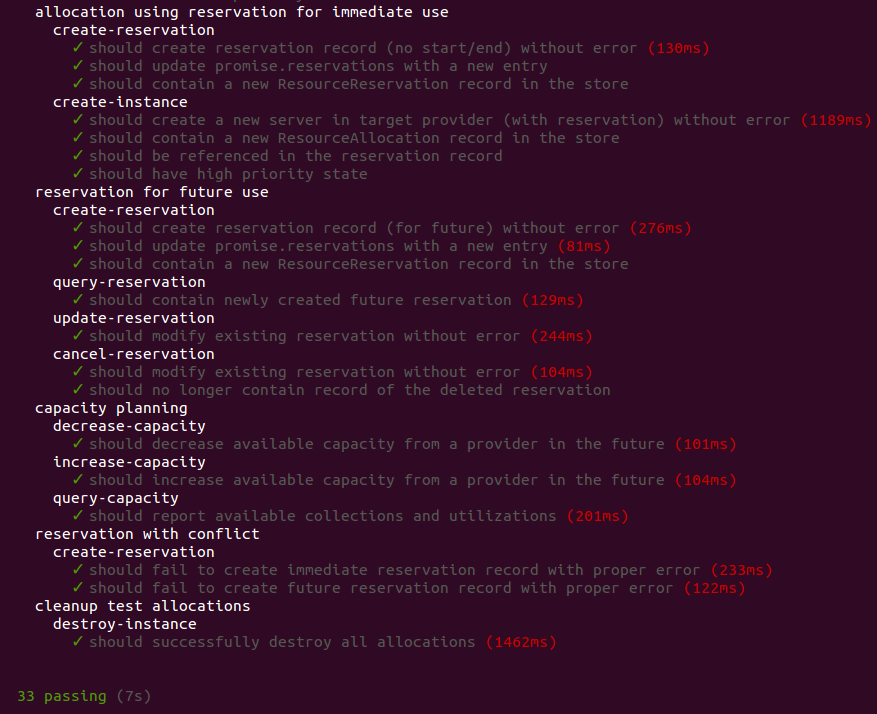
All 33 tests passing?! Congratulations, promise has been successfully installed and configured.